|
Step 1. Create a new Class Library project.
Using the Index Management Tool:
- Select the Plug-in tab
- Enter the folder to create the project in
- Choose the required language and click Create Project.

The project will be created for you. Click Yes to open the project in Visual Studio.
Next
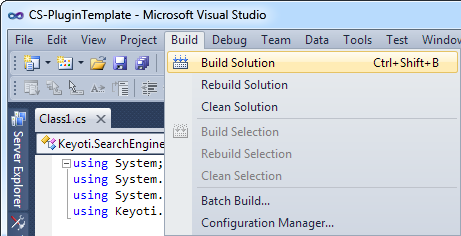
Step 2. Build the project.
From Visual Studio, select Build Solution to produce the plug-in DLL.
Next
Step 3. Set the path to your plug-in DLL.
Using the Index Management Tool:
- Select the Plug-in tab
- Enter the path to your plug-in DLL
- Click Save Plug-in Path
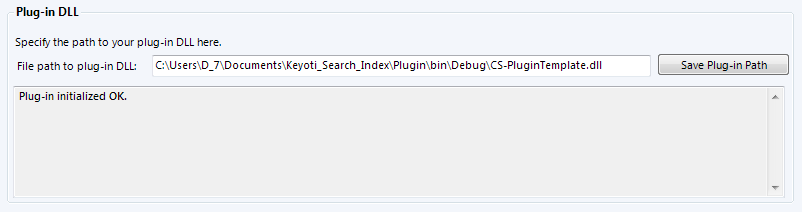
The status box will confirm whether the plug-in was correctly initialized.
Next
Further Details
The plug-in's event handlers can now be modified as required, please see the extensive examples that are already part of the template.
Further details and plug-in examples can be found in the Central Event System (Plug-ins) section of the Help documentation.